
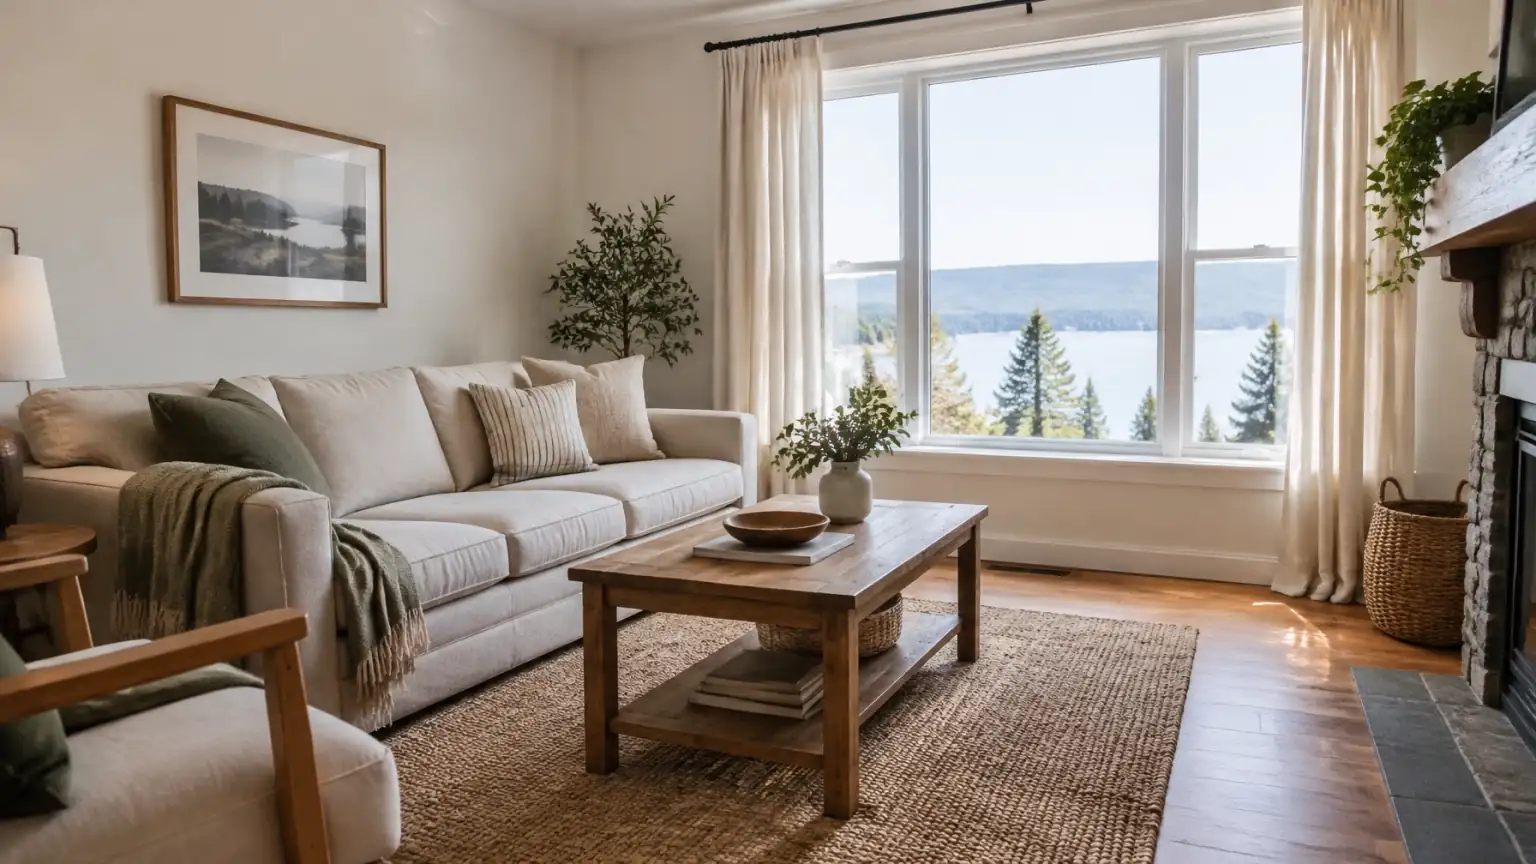
You don’t need expensive equipment to improve your Airbnb listing photos. You need enough daylight, a tidy room, a level camera and a clear idea of what a guest needs to see before booking.
Photos do the first job. They get attention and help someone decide whether to open your listing. They can show the size of the room, the quality of the light, the kitchen setup and the view from the property.
They also set expectations.
That matters because photos get the click, but the stay earns the review. Getting the listing chosen is one lever on your occupancy rate; what happens after the booking is a different piece of work.
If you manage 2 to 15 properties, you probably don’t have time to arrange a full photography session for every small change. These practical Airbnb listing photo tips are designed for the photos you can take yourself during a normal property visit.
Start with the room, not the camera
You arrive between stays with twenty minutes before the cleaner leaves. The bed is made, but there’s a laundry basket beside it. A charging cable is on the nightstand. The kitchen counter is full of items that guests can use, but the room looks crowded in the photo.
Put the camera down.
Before taking photos, remove anything that distracts from the room:
- Laundry baskets and loose bags
- Personal photos and paperwork
- Extra toiletries
- Cleaning products
- Visible cords
- Full trash cans
- Unnecessary countertop items
You don’t need to make the property look empty. A folded throw, two mugs beside the coffee maker or a book on a side table can make the space feel ready to use.
The aim is calm, not sterile.
Make the bed properly. Straighten chairs. Fold towels. Open the curtains. Put away anything that tells guests the room was photographed between tasks.
Airbnb recommends cleaning and decluttering before taking listing photos, then showing both the features guests will enjoy and the details they need to understand. Its photography guidance is a useful reference when you’re preparing a new shoot.
Use the daylight you already have
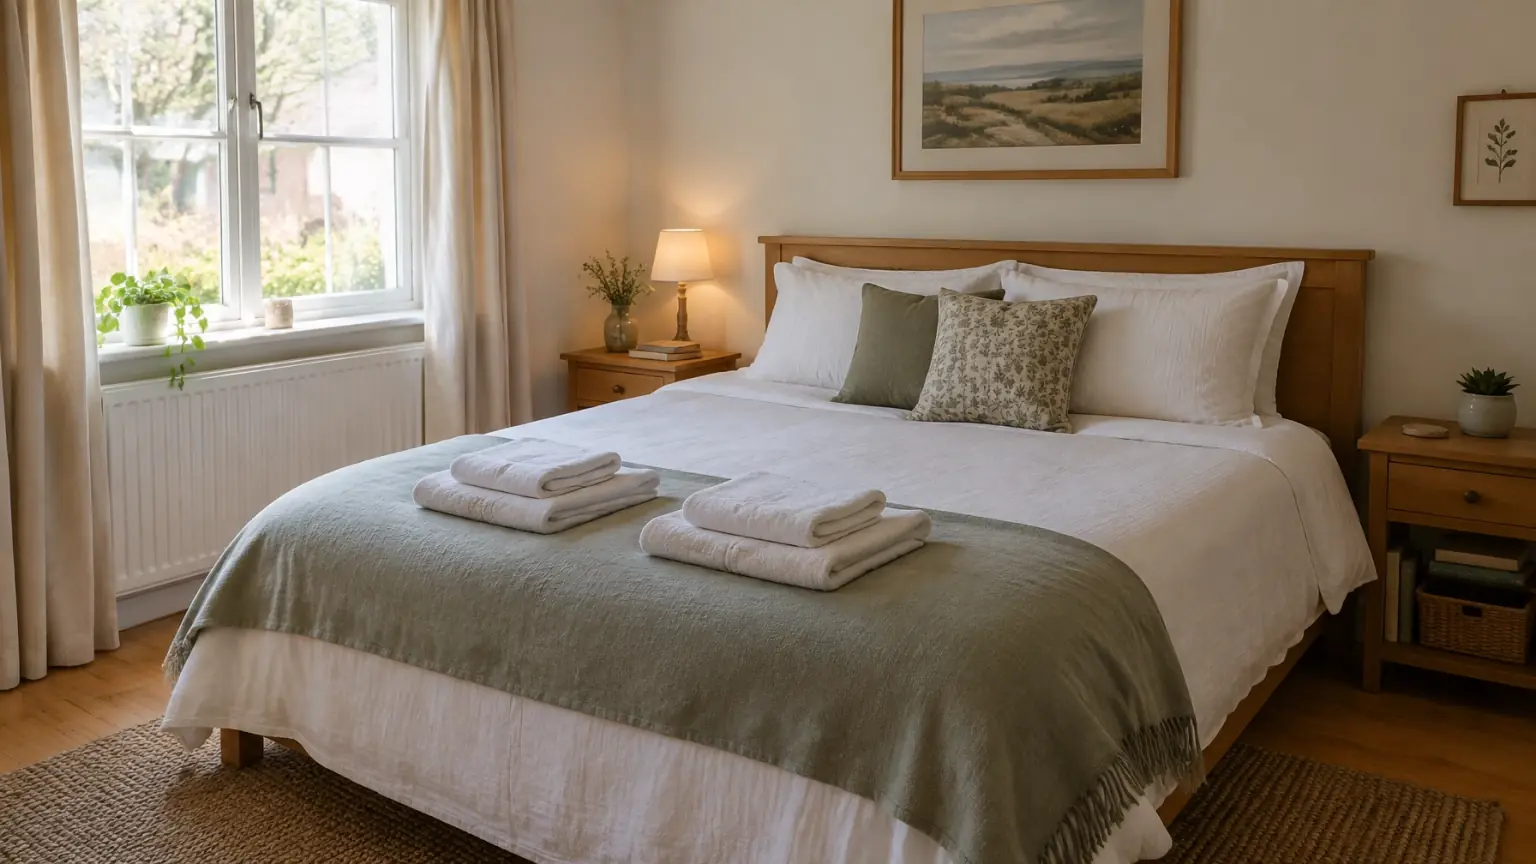
A dark room makes even a good property look smaller and less comfortable. Start with natural daylight before changing anything else.
Open the blinds, shades and curtains. Turn off the flash. Clean the windows if fingerprints or dust are visible. Then look at how the light moves through the room.
For indoor photos, soft daylight is usually easier to work with than harsh direct sun. If the room faces east, morning may work best. If it faces west, try the afternoon. You don’t need to calculate the exact time for every room. Take a test photo, check the dark corners and decide whether the room looks clear.
If the room is still too dark, turn on the lamps and ceiling lights. Try to avoid mixing very warm yellow bulbs with very cool daylight if the difference is obvious. The room can look uneven, with one part blue and another part orange.
For outdoor photos, the hour after sunrise and the hour before sunset often give softer light. That is especially useful for a porch, patio, yard or view.
You may not have time to photograph every property at the perfect hour. That’s fine. Use the best available daylight, keep the flash off and make the room look like the room a guest will actually enter.
Hold the phone at chest height
You can take useful listing photos with a phone. The main problem is usually not the phone. It’s the position of the camera.
Hold it around chest height, roughly 4 to 5 feet from the floor. Keep it level. If the phone points up, the walls and door frames start to lean. If it points down, the floor takes over the image and the room can look compressed.
Stand in a corner or doorway. Use the widest normal lens that shows the room honestly. An ultra-wide lens can help in a small space, but don’t push it so far that the walls bend or the bed looks much larger than it is.
Use these checks before pressing the shutter:
- Keep the phone horizontal.
- Turn on the grid if your camera has one.
- Keep door frames and walls straight.
- Leave a little space around the main furniture.
- Avoid placing the camera too close to a corner.
- Take two or three angles instead of relying on one shot.
A wide photo should explain the room, not make a promise the room cannot keep.
Airbnb recommends horizontal photos, a level camera position and a mix of wide, mid-range and close-up images. You can also make small edits to brightness, contrast and highlights. Keep those edits light. A bright photo is useful. A heavily edited photo creates a problem at arrival.
Make the room look ready, not staged
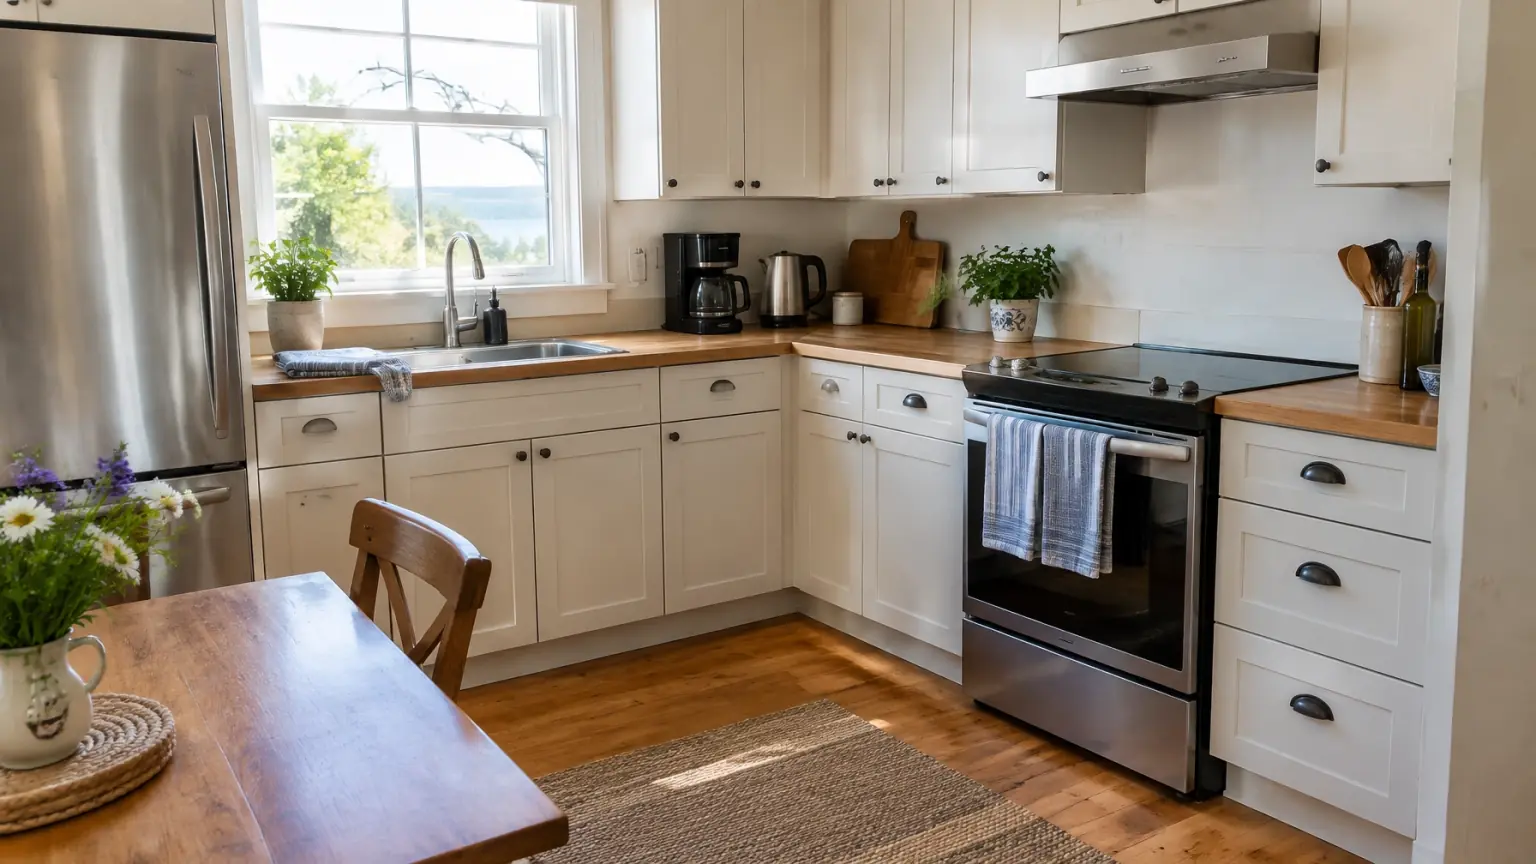
A room with nothing in it can feel cold. A room with too much in it feels difficult to maintain. Show the middle.
In the living room, leave the seating arranged as guests will use it. Keep one or two simple details, such as a folded blanket or a small table setting. Don’t add decorations that aren’t normally there.
In the bedroom:
- Make the bed tightly.
- Keep nightstands mostly clear.
- Show the window if it’s a useful feature.
- Include enough floor to give a sense of space.
- Remove extra pillows if guests won’t use them.
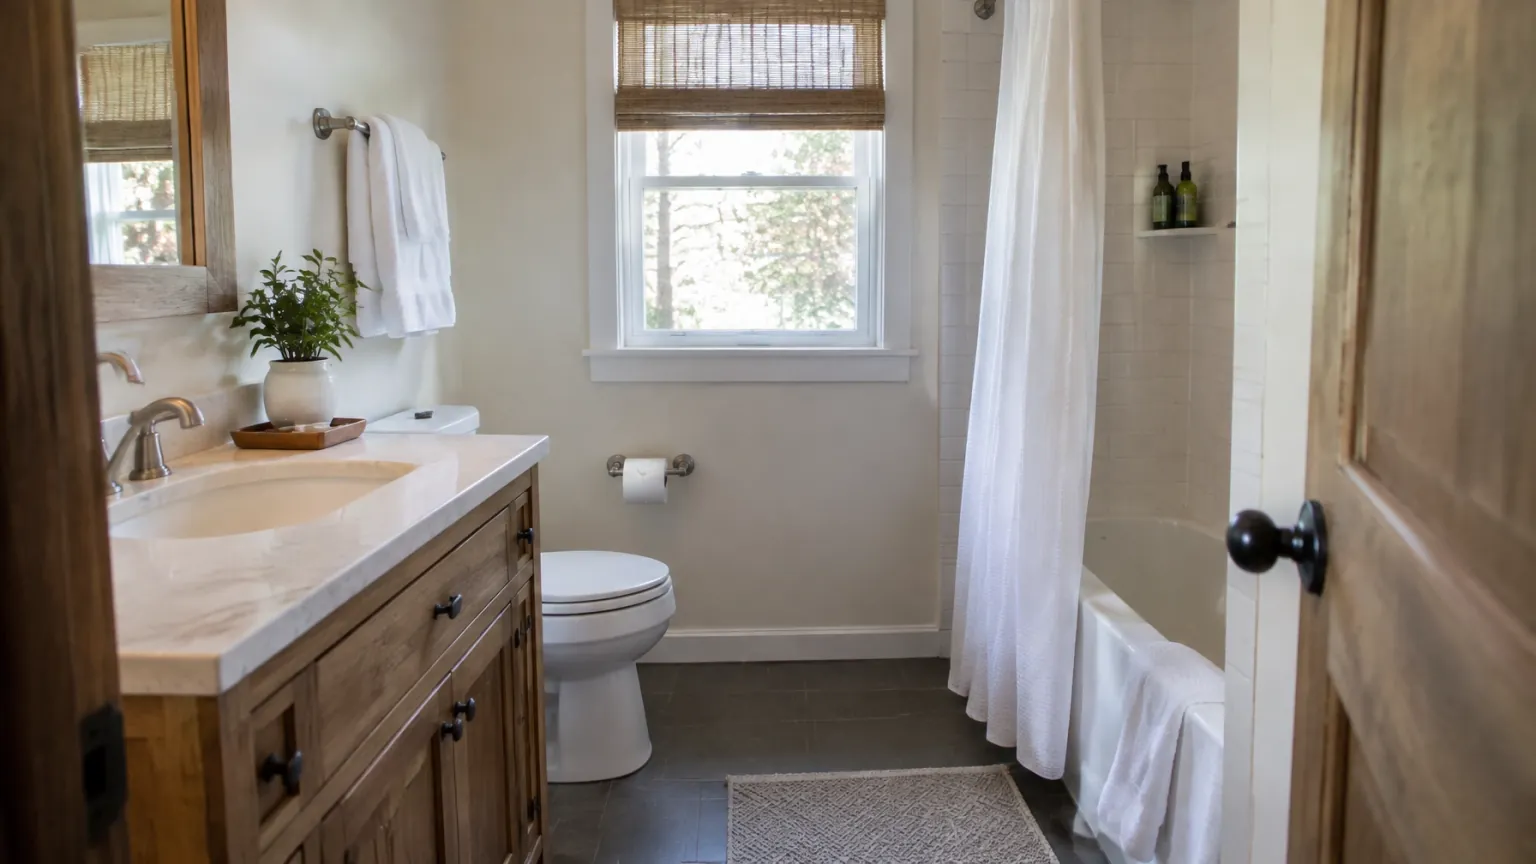
In the kitchen, show the counter space and the appliances guests will rely on. A coffee maker, kettle or toaster can answer a practical question. Ten small appliances spread across the counter create visual noise.
In the bathroom, put out clean folded towels and leave the important fixtures visible. Don’t photograph only a decorative soap bottle. Guests need to understand the shower, tub, sink and available space.
The room should look lived-in enough to feel comfortable and orderly enough to feel cared for. A room that photographs well is usually a room that was cleaned against a property checklist rather than from memory.
Choose the cover photo carefully
The cover photo is the first image many guests see in search. It needs to explain the property quickly.
Choose the strongest bright, wide photo. For many rentals, that will be the living room. For others, it may be an outdoor area, a view, a distinctive bedroom or a well-designed kitchen.
Do not automatically choose the most expensive feature. Choose the image that gives the clearest reason to keep looking.
A good cover photo usually has:
- Natural light
- A clear focal point
- Straight vertical lines
- No clutter
- A realistic sense of space
- A feature that makes the property different
Avoid using a bathroom, hallway or close-up decoration as the cover unless that feature is genuinely the main reason guests book the property.
After the cover, arrange the next photos like a short walkthrough:
- The best room or outdoor feature
- The main bedroom
- The living room from another useful angle
- The kitchen and dining area
- The bathroom
- The outdoor space or view
Then show the remaining bedrooms, work areas, entry, parking and other features in a logical order.
The first few photos should help a guest understand the property before they start looking at details.
Photograph the questions guests ask
A pretty photo is useful. A clear photo that answers a booking question is often more useful.
Think about the questions that arrive in messages:
- Is there parking?
- Is the parking space close to the entrance?
- Does the kitchen have a full-size refrigerator?
- Is the bathroom attached to the bedroom?
- Is the patio private?
- Is the view visible from the living room?
- Is there a workspace?
- Are there stairs to the entrance?
- How much space is around the bed?
Add photos that answer those questions directly.
Photograph the parking space from the approach, not only from the front door. Show the kitchen as a guest sees it, including the appliances that matter. Photograph a narrow bathroom from an angle that gives useful context instead of hiding the limited space.
If a bedroom is on a different floor, show the stairs or explain the location in the caption. If the patio is shared, don’t frame it in a way that suggests it is private.
These photos may not be the most attractive images in the gallery. They reduce uncertainty. That is their job.
Accurate photos can also reduce the gap between what a guest expects and what they find after arrival. That gap is where many avoidable complaints begin.
Retake photos after changes
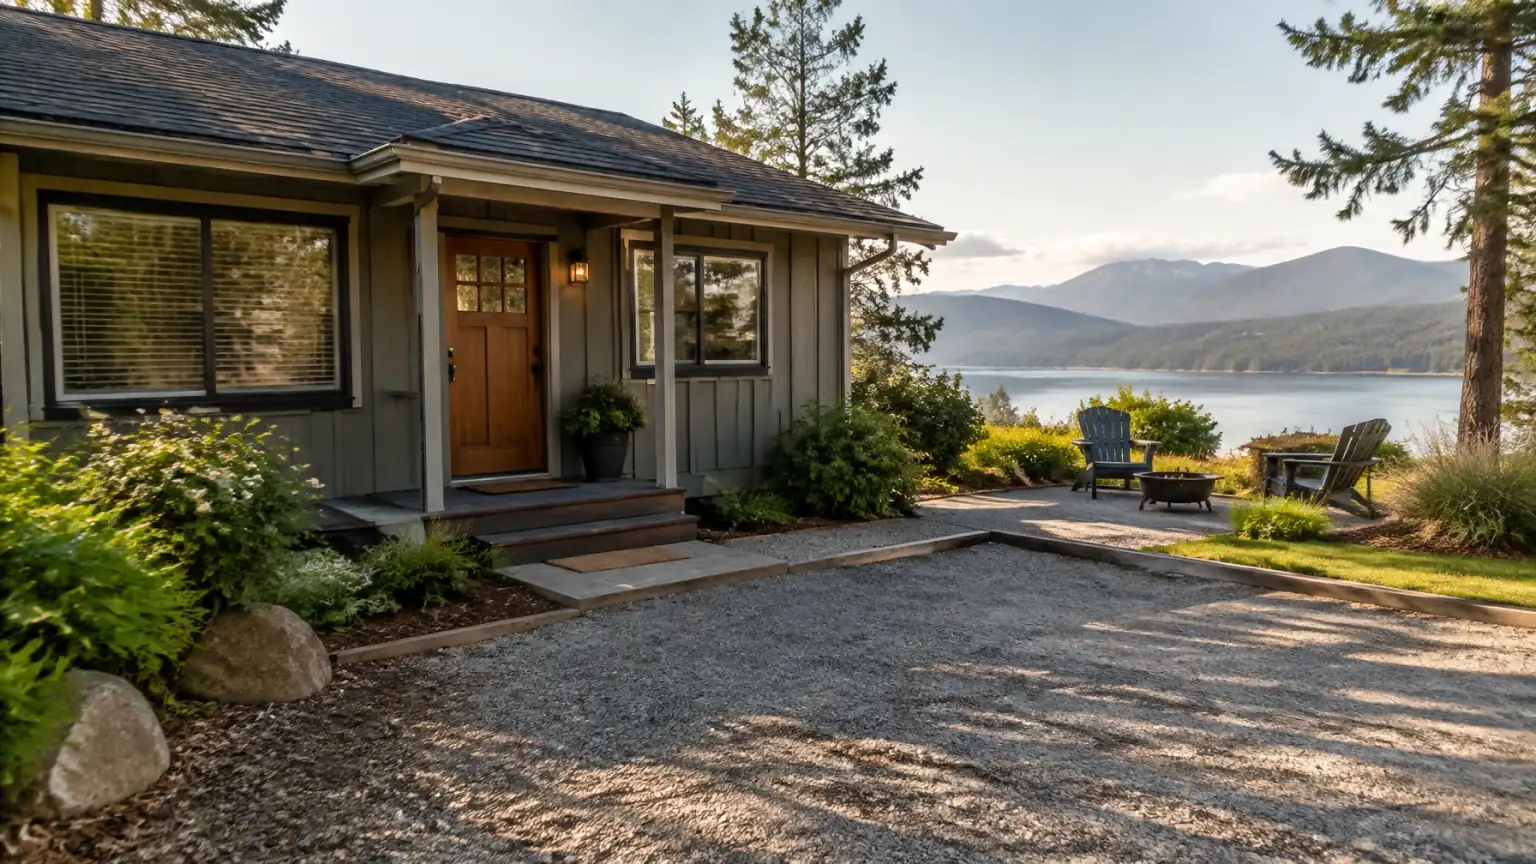
Your listing photos should change when the property changes.
Retake them after:
- Replacing a sofa or bed
- Painting a room
- Changing the flooring
- Adding or removing an appliance
- Building a patio
- Changing the parking arrangement
- Updating the view or outdoor furniture
- Making accessibility changes
- Removing an amenity
You should also review the photos at the start of each season. A summer patio can look misleading in a winter listing. A snowy driveway may need a different explanation than the same driveway in July. Seasonal photos can show guests what the property looks like when they plan to visit.
Do a quick photo review every few months. Open the listing as if you’ve never seen it before. Ask:
- Does the cover photo still show the best reason to book?
- Does every photo match the current room?
- Is anything important missing?
- Is the order easy to follow?
- Are the photos bright enough to understand?
- Does any image make the room look larger or different than it is?
This takes less time than dealing with a guest who booked based on an old layout.
When a professional is worth it
You can take good photos yourself. That doesn’t mean professional photography is never useful.
Consider hiring a professional when:
- You’ve made a major renovation.
- The property has a difficult layout.
- The view or exterior is a major selling point.
- You manage a high-value property where presentation matters.
- Your current photos are dark, distorted or inconsistent.
- You’re launching a new listing and need a complete set quickly.
A professional can handle difficult lighting, exterior composition and consistent editing across a larger shoot.
But you don’t need to wait for a professional to fix obvious problems. Better daylight, a level camera and a calmer room can improve a listing this week.
Photos get the click. The property, the instructions and the actual stay earn the review.
If you’re working on the other side of that promise, BowReady helps short-term rental hosts keep turnover details, cleaning assignments and checklists in one place. The same habit that keeps a room photogenic keeps it guest-ready, and completion photos give you a record of how it was left. There is more in the cleaning turnovers guides.
Start with the next property you visit. Open the curtains, clear the counter, hold the camera level and retake the cover photo. Small changes are enough when they show the room honestly.
The photos get the click.
BowReady makes sure the stay behind them is ready on time.
Frequently asked questions
Do I need a professional camera for Airbnb listing photos?
No. A recent phone is enough for most rooms. What limits a listing photo is usually daylight, clutter and camera height, not the sensor. Hire a professional when the layout is difficult, the exterior is the main selling point, or you need a full consistent set quickly.
What should my Airbnb cover photo be?
The brightest wide shot of the strongest reason to book. For most rentals that is the living room, but it can be a view, an outdoor area or a distinctive bedroom. Avoid a bathroom, a hallway or a close-up of decoration unless that feature is genuinely why guests choose the property.
How often should I retake listing photos?
After any change a guest would notice, so a new sofa, a repaint, new flooring, a changed parking arrangement or a removed amenity. Review the full set at the start of each season too, because a summer patio can mislead a guest booking in January.
Can wide-angle photos get me in trouble?
They can cost you a review. A room that photographs larger than it is will still book once, and the gap between the photo and the room is where avoidable complaints start. Show the room honestly and let the listing text carry the rest.